Sign up for ServPress
To get started with ServPress, the first thing you need to do is sign up for an account. Signing up is free and easy! You will only be charged if you want to add more than one server or create a team. Learn more about our pricing here.
Click here to start the onboarding process, or to log in if you already have an account with us.
You can also learn how to do it step by step with our video tutorial:
Installing Debian 11 on your server and provisioning your first server
To get started with ServPress, you’ll need to have a server first. ServPress is a tool for managing servers and does not provide server hardware, so you’ll need to choose a server provider that suits your needs. Once you’ve chosen your preferred server provider and hardware, you’ll need to install Debian 11 on the server with a root password. Your server provider should have documentation to help you with this process if you’re unsure. We also provide guides for some providers here.
You can follow our screencast for the server installation here (we use DigitalOcean as an example):
Once Debian 11 is installed, you can start using ServPress to manage your server.
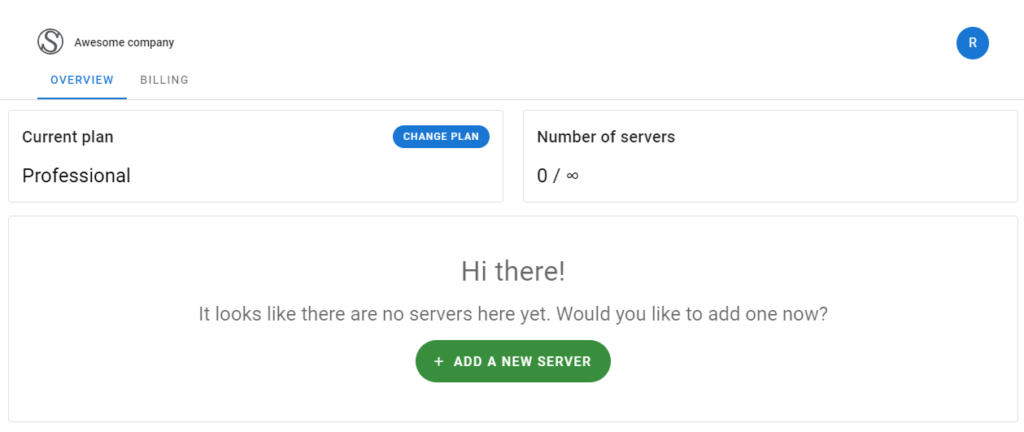
In order to provision a server, click on the “Add a new server” button:


Now, you’ll have to write some information:
- Server name: This is the name you want to use to identify your server. Just like how you wouldn’t want to call your dog “Dog,” we recommend giving your server a more descriptive and memorable name. For example, if the server is for testing or development purposes, you might name it “Testing Server,” and if it’s for your live websites, you could name it “Live Server.” Choosing a clear and relevant name can help you easily identify and manage your servers.
- IPv4 address: This refers to the public IP address of your server. You can obtain this information from your server provider.
- Root password: This is the password for the root user on your server. Don’t worry, we take security seriously and we won’t store this password. Once we connect to your server, we’ll discard the password and use a secure SSH key instead. You’ll also have access to this key for added security.
- Admin contact email: This is the email address we will use to notify you in case of any issues with the TLS certificate renewal. We won’t use it for any other purposes.
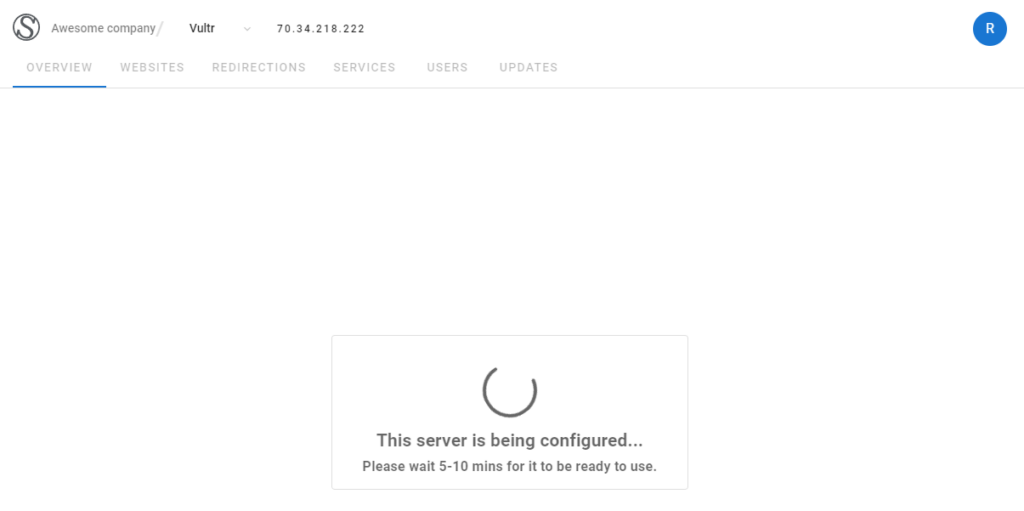
Once you’re ready, click the “Add a new server” button. If all the information you provided is correct, ServPress will start provisioning your server. This means that we will install the necessary software stack on your server, including PHP, the MariaDB database, Redis, the web server, and other necessary components. This ensures that your WordPress websites can be served quickly and reliably.

First glance at your server
The first thing you’ll notice when you access your new server is the real-time stats widget. It provides you with an overview of your server’s current usage in a glance.

Adding your first website
The next step is to add your first website, which is where the real fun begins!
If you want, you can follow this section with our screencast:
Simply navigate to the “Websites” tab and click on the “Add website” button.

Now you’ll have to choose an option. We are going to choose the “Create a new WordPress installation” for this guide, but if you already have a website you’d like to import, please follow our guide in how to import a WordPress website.


After filling out the form, click on the “Add website” button. ServPress will begin installing a new WordPress instance for that domain, which usually takes just a few seconds. However, keep in mind that this process does not automatically point your domain to the server’s IP address. You’ll need to manually configure your domain to point to the server’s IP address on your domain or DNS provider.
Your server IP address can easily be copied by clicking on it here:

Accessing the website for the first time by using the Golden Key feature
Congratulations! WordPress is now installed on your website. However, you might be wondering where the password is. Don’t worry, we’ve got you covered. For security reasons, we assign a very long and secure password to your user by default, so you don’t have to enter one during the installation process.
You can follow this section with our screencast:
Now, to access the website, you just have to click the Golden Key:

After clicking the Golden Key, a new tab will open, and you’ll be automatically logged in to your WordPress dashboard. From there, you can change your password if you’d like, or continue using the Golden Key. Here’s our dedicated guide about the Golden Key if you want to know more.
Securing the website’s connection with a free autorenewed certificate
Now, that’s good and all, but you probably want HTTPS up and running on your site, right? No problem, it’s easy. Click on the padlock on the right of your website’s name (which for now is unlocked):


Now, select the “Free TLS certificate with autorenewal” and click Save Changes. In a few seconds, your website will be available with a TLS certificate. You’ll probably have to login again, but you already know how to do that from our previous step.
If you have questions about these steps, please follow our screencast:
If you want to learn more about the other options present on the previous window, please click here to follow our TLS certificates guide.
What now?
Now you can start setting up your new website. But ServPress is much more than just a fancy WordPress manager, so here are a few links that can help you out in the next steps:
For more speed:
- Get more speed with an Object Cache by integrating Redis
- Optimize your browser asset cache
- Upgrade to a newer PHP version
- Edit your settings to allow WordPress to use more resources if needed
- Edit your database settings to improve database queries performance
- Integrate ServPress with your preferred cache plugin
For extra security:
- Set up Security Headers
- Learn how to take snapshots of your websites
- Learn how to duplicate your website to spin up a staging environment
- Learn more about TLS certificates
For convinience:
- Read more about the Golden Key feature
- Learn how to manage plugins without logging into any dashboard
Server management with ServPress:

